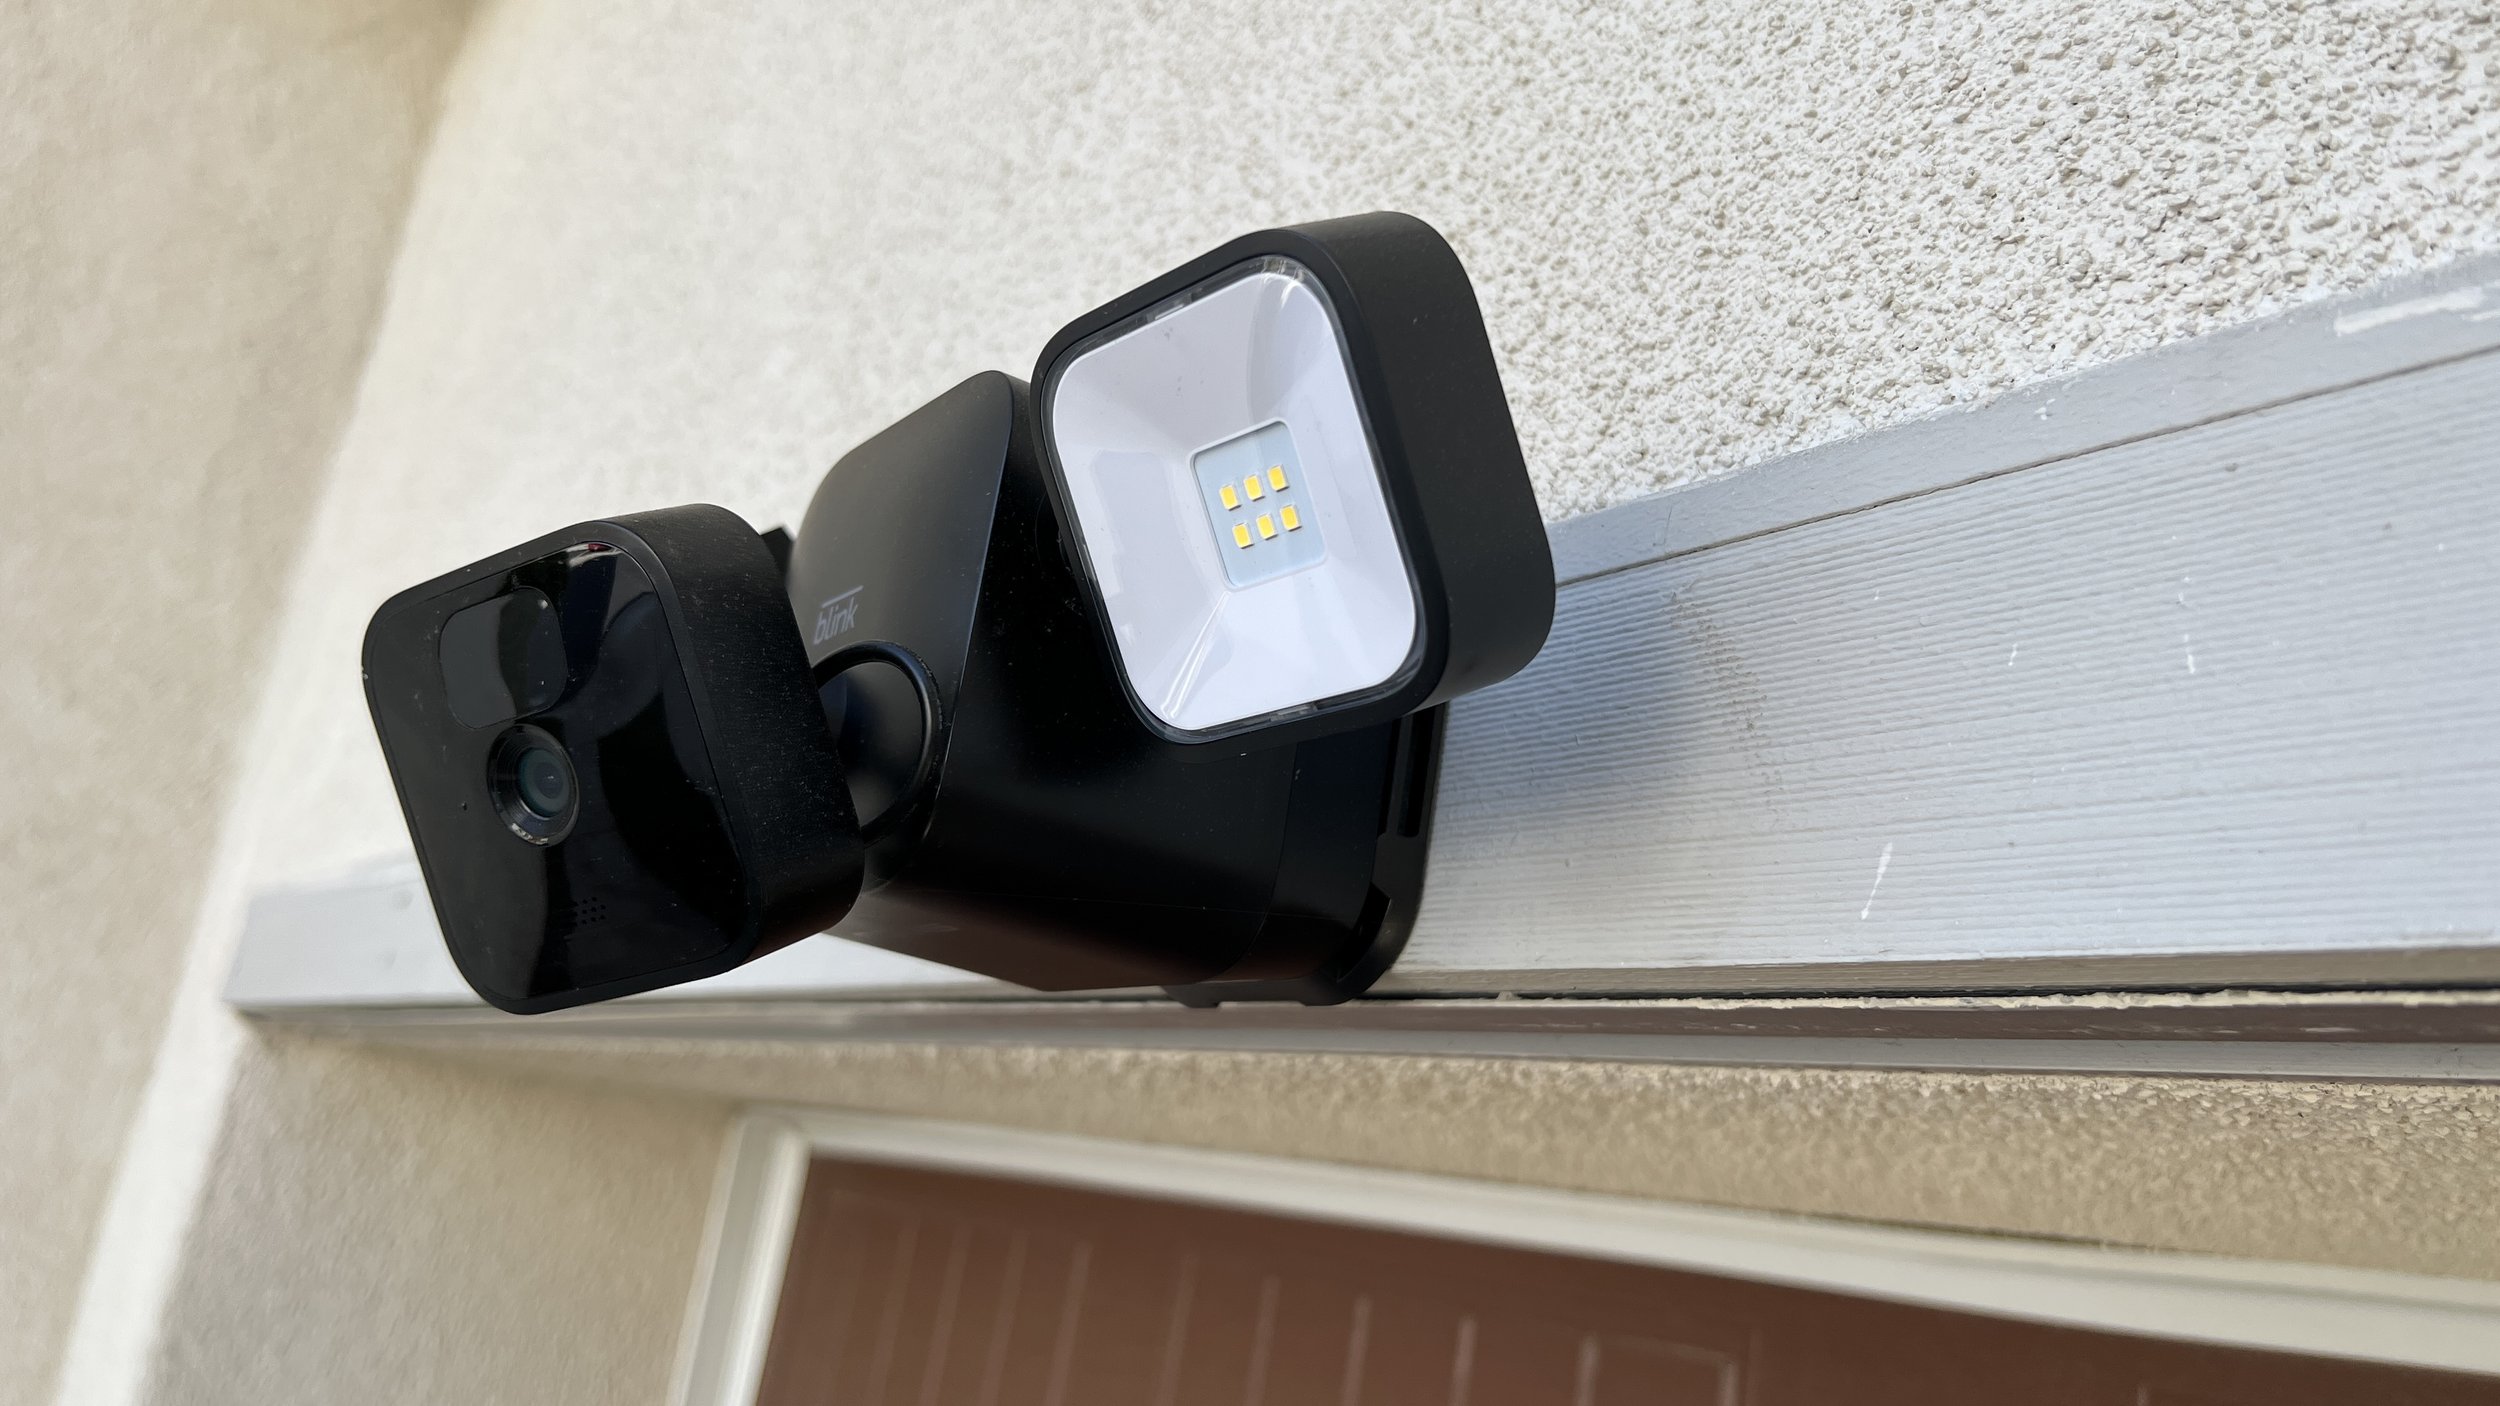
Image Source: Google
As technology advances, home security systems are becoming more accessible and user-friendly. One popular option for securing your home is installing a floodlight camera mount. This innovative device combines the benefits of a floodlight with a surveillance camera, providing you with enhanced security and peace of mind. In this article, we will guide you through the process of installing a floodlight camera mount, making it simple and hassle-free. If you want to know more about floodlight camera mount, then you can check this website.
Benefits of a Floodlight Camera Mount
- Enhanced security for your home
- 24/7 surveillance capabilities
- Deters potential intruders
- Ability to monitor your property remotely
- Peace of mind knowing your home is protected
Tools and Materials Needed
- Floodlight camera mount kit
- Drill
- Screwdriver
- Stud finder
- Mounting screws
- Wire cutters
- Electrical tape
- Ladder
Step-by-Step Installation Guide
Step 1: Choose the Right Location
- Identify the areas around your home that require enhanced security.
- Select a location for the floodlight camera mount that provides optimal coverage of the area.
- Ensure that the chosen location has access to a power source.
Step 2: Prepare the Mounting Area
- Use a stud finder to locate the studs in the area where you will be mounting the floodlight camera.
- Mark the positions of the studs on the wall to serve as a guide for mounting.
- If necessary, remove any existing light fixtures or debris in the area.
Step 3: Install the Mounting Bracket
- Attach the mounting bracket to the wall using the provided screws.
- Ensure that the bracket is securely fastened to the wall and aligned with the marked positions of the studs.
Step 4: Connect the Wiring
- Follow the manufacturer's instructions to connect the wiring of the floodlight camera mount.
- Use wire cutters to trim any excess wiring and secure the connections with electrical tape.
- If you are not comfortable working with electrical wiring, consider hiring a professional electrician to assist with this step.
Step 5: Attach the Floodlight Camera
- Secure the floodlight camera to the mounting bracket using the provided screws.
- Adjust the position of the camera to ensure optimal coverage of the area you want to monitor.
- Test the floodlight camera to ensure that it is working properly before completing the installation.
Step 6: Test and Adjust
- Test the floodlight camera by activating the motion sensor and checking the live feed on your mobile device or computer.
- Make any necessary adjustments to the camera angle or settings to improve the quality of the surveillance footage.
- Consider adding additional floodlight camera mounts to other areas of your home for comprehensive security coverage.
Conclusion
Installing a floodlight camera mount is a simple and effective way to enhance the security of your home. By following this step-by-step guide, you can easily secure your property and enjoy peace of mind knowing that your home is protected. With 24/7 surveillance capabilities and remote monitoring options, a floodlight camera mount provides you with the ultimate home security solution. Take the necessary steps today to secure your home with ease.